
In AO, all files and visualizations live in projects. This article covers creating a project, controlling who can see it, editing or deleting it, uploading files and visualizing them on the map.
Create a project
Professionals and Admins can create projects.
- Open Projects at the bottom of the left toolbar and choose Add Project.
- Fill in the details and save. The name must be different from your organization's other projects, ignoring capitalization. The name, description, platform type, sensor type and data source are searchable. You can also set the project's location, a default coordinate reference system for its files, and an elevation range, which fills in Vertical Range when you visualize bathymetry. If you don't set a location, AO uses the location of the first visualization that finishes.
- On the Group Access tab, choose which groups can see the project (optional, and you can change it later).
Who can see a project
A person sees a private project when they created it, belong to a group that has access to it, or are an Admin in its organization. A public project can be viewed by everyone signed in to that AO, in any organization. Projects people create in AO are private. To give or remove access, use the project's Group Access tab, or change who is in the group. See User Management.
Edit or delete a project
Admins can edit and delete any project in their organization, and Professionals the projects they created. Only Terradepth support can change public projects.
- Edit: open Projects at the bottom of the left toolbar and open the project. Change its details on the Details tab and choose Save & Continue.
- Delete: in Projects, select the projects and choose Delete selected projects (the
 delete icon above the list), then confirm. Deleting a project also deletes its files, visualizations and objects.
Upload files
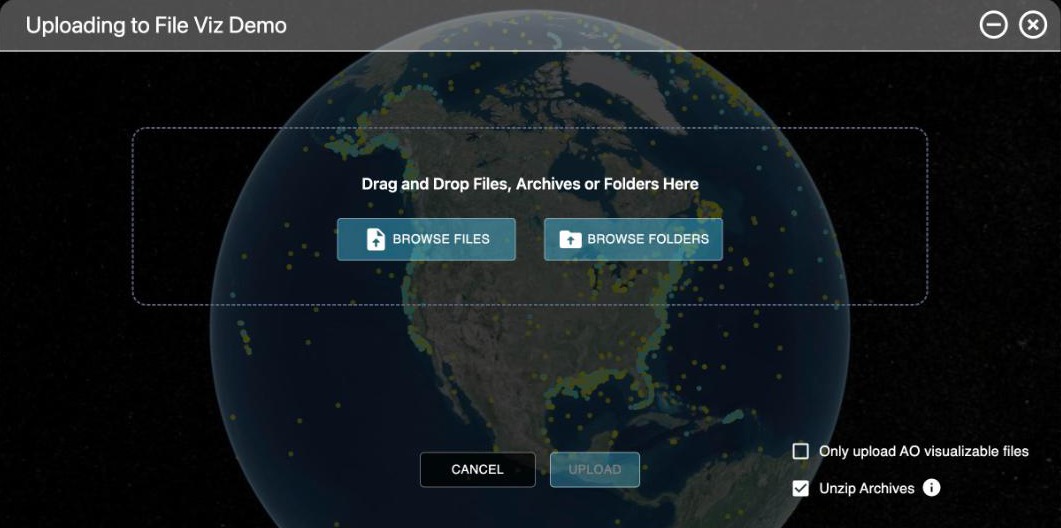
Professionals and Admins can upload. Open the project and go to its Files tab, then choose Upload.
- Drag files or whole folders into the window, or use the browse buttons. Folders keep their structure in AO. To add to an existing folder later, upload the same folder again: AO skips files it already has and asks what to do about name conflicts.
- Unzip Archives (on by default) extracts a ZIP file on the server after it uploads. Choose one ZIP at a time: with two or more, Unzip Archives is grayed out, even if it still shows ticked, and they upload as ZIP files. Extraction can take a long time for a big ZIP, and carries on even if you close the page.
- Only upload AO visualizable files filters your selection down to the files AO can show on the map.
- If a file fails, choose Retry (or Retry All for a group) instead of starting over.
- Keep the page open until uploads finish. You can minimize the Projects window, but closing the Upload window asks whether to stop, and closing the browser tab stops the uploads.
For very large uploads, or a slow or unreliable connection, use the AO CLI. See Moving Files In and Out of AO and Best practices for loading data to AO.
Visualize a file
Visualizing makes a layer you can see on the map, such as a grid, an image, a point cloud or vector data. Your original file isn't changed. Professionals and Admins can create visualizations.
- Make sure the file is in a format AO can visualize. See Supported file types and format requirements.
- In the project's Files tab, choose Visualize for the file.
- Choose the options. They depend on the kind of file; see File Visualization Table. The name must be different from the project's other visualizations.
- Choose Generate Visualization.
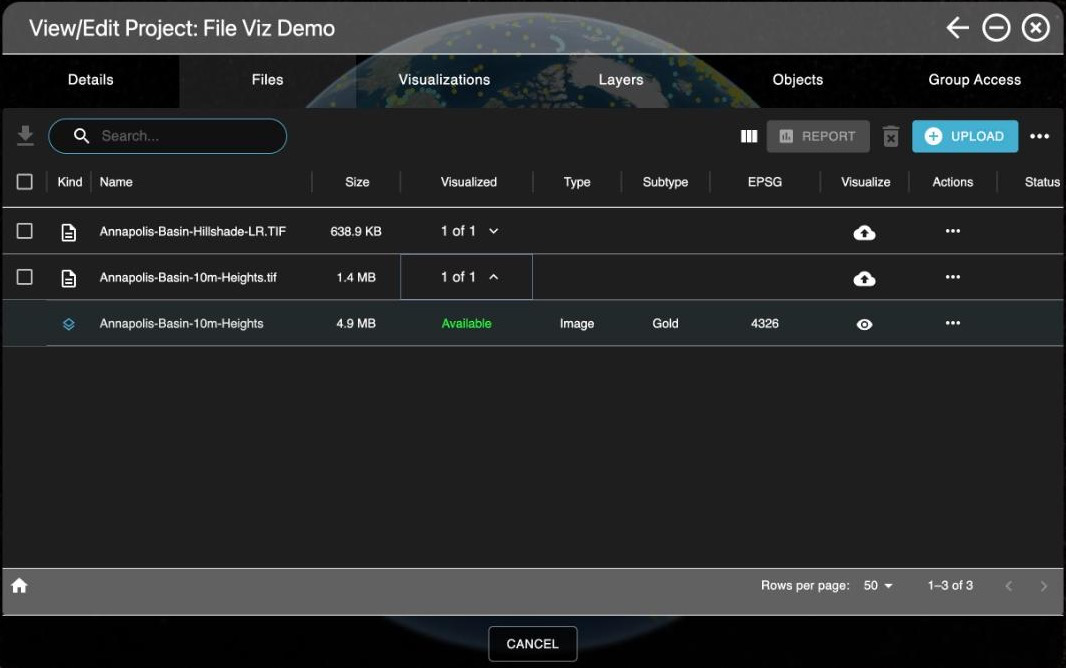
The Visualizations tab shows each visualization's status. It refreshes every 30 seconds while any are in progress, or choose Refresh Visualization List. When a visualization is ready, choose View to go to it on the map. The Files tab also lists each file's visualizations under it.
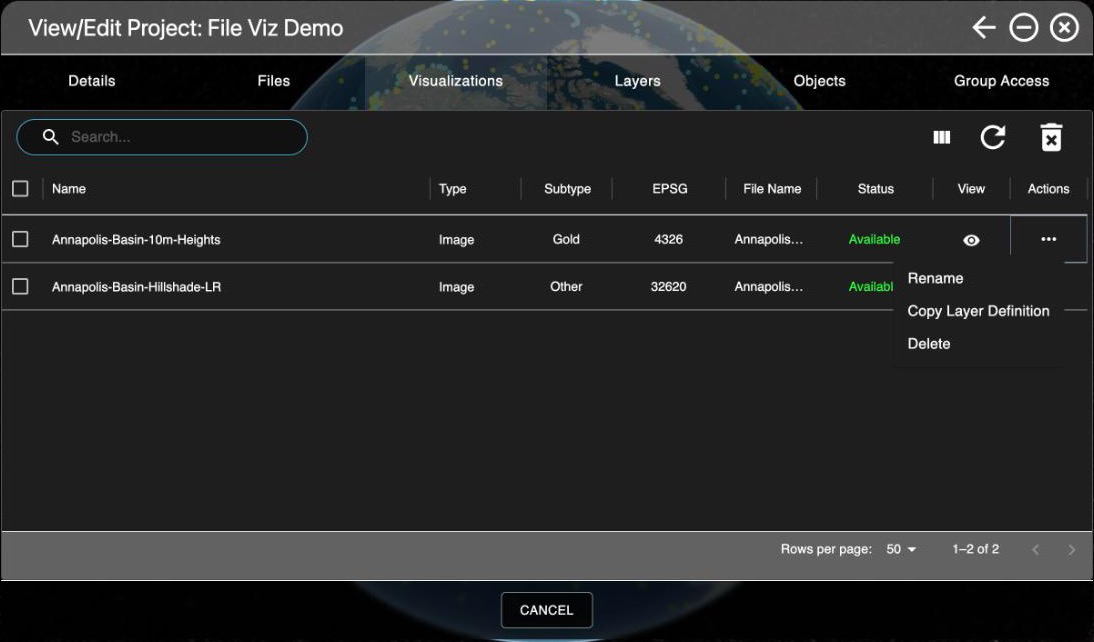
From a visualization's actions you can Rename it, Copy Layer Definition (to use the layer in GIS tools), Cancel one in progress, View Error Message for one that failed, or Delete it. Shared-layer addresses work without signing in, so share them only with people who should see the data; to withdraw one, contact support@terradepth.com.
The actions depend on the visualization's status. While it's rendering, Cancel is the only one, so cancel a visualization before you delete it. Rename and Copy Layer Definition appear once it's available.
Common questions
Are any characters not allowed in file or folder names?
When you rename a file or folder, AO doesn't allow < > : " / \ | ? *, the characters most file systems don't allow. AO treats names that differ only in capitalization, such as "Raw Data" and "raw data", as the same name. Uploads are the exception: a folder path capitalized differently becomes a separate folder, so keep capitalization consistent. If a name causes trouble, contact support@terradepth.com.
How many files can I upload at once?
There's no set limit: uploads of thousands of files are common. How long they take depends on your connection.
Can I move or copy files between projects?
Yes. In the Files tab, select the files and choose Move Selected or Copy Selected, or use Move or Copy on a file's menu.
Can AO visualize files automatically after upload?
Yes, with Auto Visualization, which starts visualizing files such as GeoTIFF, BAG, GeoJSON, KML and KMZ as soon as they upload. GeoTIFF and BAG files need a coordinate system AO can read from the file. Other files, such as MTX, LAS and shapefiles, wait for you to visualize them.
Availability: Auto Visualization is turned on per organization. To use it, contact support@terradepth.com.
Related: Managing files in a project · File Visualization Table · Layers window