
Applies to:
AO OnBoard
This quick start takes a new AO OnBoard system from setting it up to your data on the map and a safe shutdown, in eight steps. Each step links to the article with the details.
Before you start
Have these at hand:
- The guide delivered with your system. It has your system's exact cables, buttons, power needs and storage.
- Your sign-in details from Terradepth: an AO account and, if your system has a processing workstation, a Windows account for it.
- A network connection for AO OnBoard, and a computer on the same network with a web browser and a remote desktop client.
- Which kind of system you have: rack server, compact rugged computer, laptop or virtual machine image. See AO OnBoard overview.
First-day checklist
- Place and connect it. Put the hardware in a dry, ventilated place, then connect network and power as your system's guide shows. With the virtual machine image, your IT team imports it into your hypervisor. See Before you start and Set it up in Setting up and powering AO OnBoard.
- Start it. Turn on the battery backup (UPS) if there is one, then the system, and wait a few minutes for AO to start. See Set it up in Setting up and powering AO OnBoard.
- Sign in to AO. Open your AO OnBoard address in a browser, sign in with your AO account, and change the password you were given. See Open AO in a browser in Signing in to AO OnBoard and its workstation.
- Connect to the workstation. If your system has one, open your remote desktop client, enter the workstation's address and sign in with your Windows account. See Connect to the processing workstation in Signing in to AO OnBoard and its workstation.
- Load data. As a Professional or Admin, open Projects at the bottom of the left toolbar and choose Add Project. Then, on the project's Files tab, choose Upload. Data on an external drive goes through the workstation first. See Move data on and off in Moving data and upgrading AO OnBoard and Best practices for loading data to AO.
- Visualize. On the Files tab, choose Visualize for a file, then Generate Visualization. When it's ready, choose View on the Visualizations tab to see it on the map. See Project Management & File Visualization.
- Shut down safely. Let uploads and visualizations finish and ask people to save their work. Then shut down the way your kind of system needs, never by holding the power button or pulling the power. See Shut down or restart in Setting up and powering AO OnBoard.
- Get help. Email support@terradepth.com with your kind of system, your AO version and what happened. While you're online, save or print the articles you'll need offline. See Getting help in AO OnBoard overview.
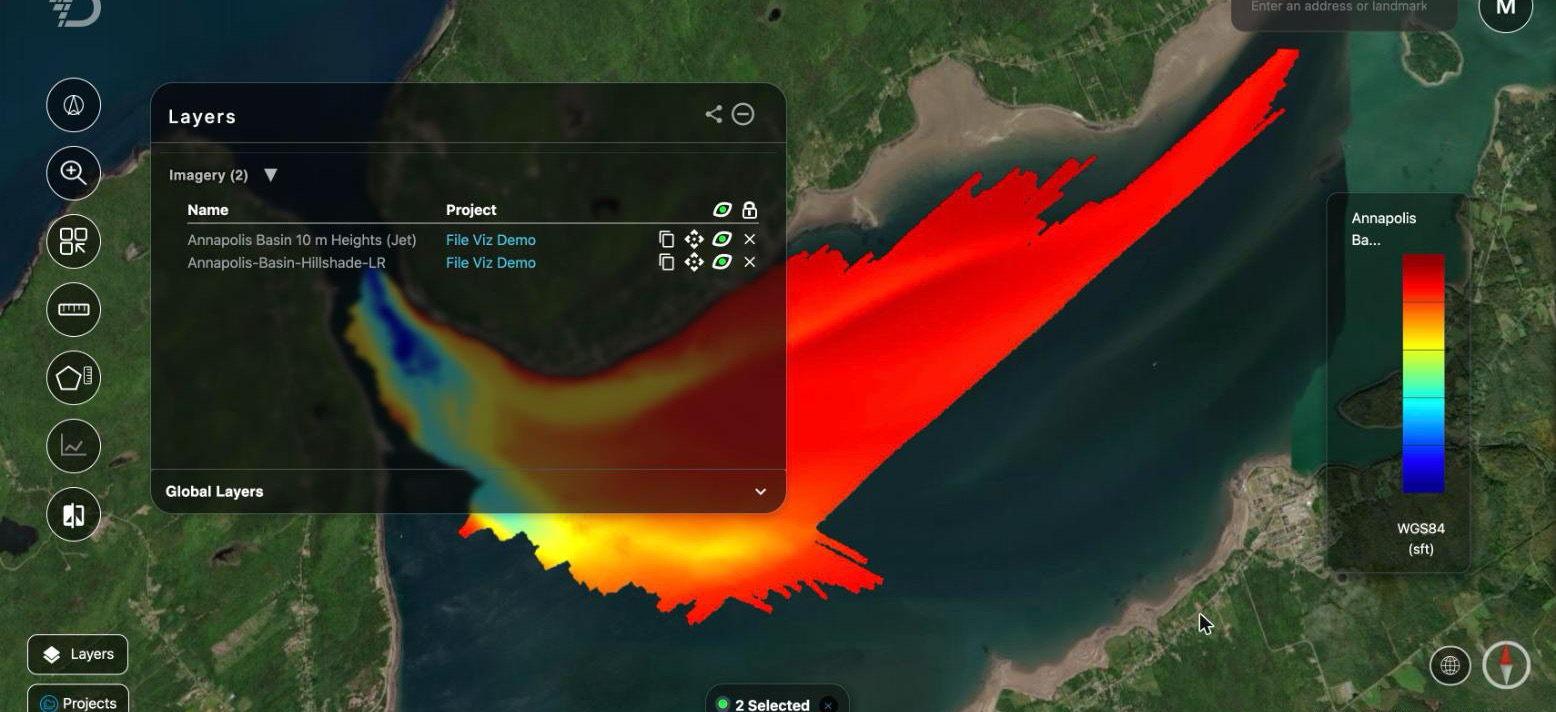
Step 6: your first visualization on the map, with the Layers window open.
Next
- Add people, even without email: see Adding people without email in Signing in to AO OnBoard and its workstation.
- Copy projects to AO in the cloud when you have internet access: see Remote Sync.
- Work without internet access: see Using AO offline.
- Plan an upgrade to a new AO release: see Upgrades in Moving data and upgrading AO OnBoard.
Availability: Remote Sync is turned on per organization. To use it, contact support@terradepth.com.
Related: AO OnBoard overview · Setting up and powering AO OnBoard · Signing in to AO OnBoard and its workstation · Moving data and upgrading AO OnBoard